

The Authority in Global Agricultural Chemistry & Bio-Resources
Seasonal Maintenance Tips for Farm Equipment in North America
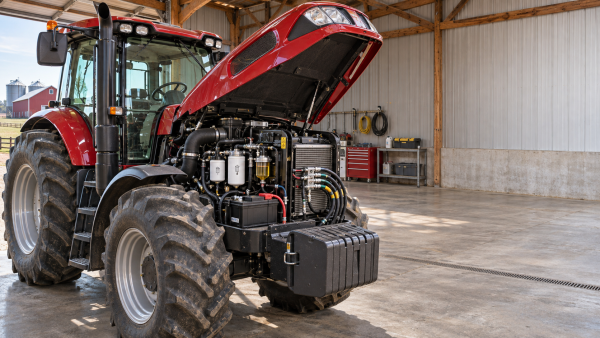
Seasonal weather and compressed field schedules put farm equipment under strain across North America. For after-sales maintenance personnel, the most useful North America maintenance tips start with a practical distinction: a machine that starts in the yard is not necessarily ready for a week of planting or harvest. Timely inspections, targeted repairs, and documented handovers help service teams catch wear before a narrow operating window exposes it.
Use the seasonal priorities below as a planning framework, then adjust them to the machine, local conditions, and the manufacturer’s service instructions. A tractor working through a wet Midwest spring faces different risks from an irrigation pump in a dry summer or a combine stored through a Canadian winter.
Build a Seasonal Service Plan Around Operating Risk
Start with the customer’s expected field dates and work backward. Identify equipment that has no ready substitute, machines with unresolved faults, and components with long parts lead times. A low-cost sensor can stop an expensive machine if it fails at the wrong moment and no replacement is available.
- Review the previous season. Check work orders, fault histories, operator complaints, fluid consumption, and recurring adjustments. Ask what was temporarily repaired to finish the last job.
- Inspect before ordering. Confirm machine serial number, configuration, software version where relevant, and component condition. Similar models can require different belts, filters, seals, or electronic modules.
- Rank findings by consequence. Address safety defects first, followed by faults likely to stop operation, damage major components, or prevent accurate application or planting.
- Schedule parts and labor. Reserve qualified technicians and order confirmed parts early. Record any backorders and agree on an operating plan with the customer.
- Verify the repair under suitable conditions. Run the machine through the functions affected by the work, check for leaks and fault codes, and document any limits on the test.
Calendar dates alone are a poor service trigger. Use hours, acreage, operating conditions, and manufacturer intervals together. Dust, heavy loads, moisture, and frequent short trips may justify more frequent inspection, but they do not replace the OEM’s specified service requirements.
Spring: Prepare for Planting and Wet-Field Conditions
Spring failures often originate in storage: a weak battery, contaminated fuel, a seized linkage, or a hose that deteriorated unnoticed. Begin service early enough to allow a parts order and a follow-up field test before the planting window opens.
Restore engine, electrical, and hydraulic readiness
- Inspect the battery and starting circuit. Check case condition, terminals, cables, and grounds. Test the battery and charging system with equipment appropriate to the battery type; charge or replace components according to the manufacturer’s guidance.
- Check fluids and filtration. Verify engine oil, coolant, transmission and hydraulic fluid levels and condition. Replace fluids and filters when due, using the specified grades and service procedures. Investigate unexplained loss or contamination before topping up.
- Inspect fuel and air systems. Drain water or sediment where the system provides for it, inspect filters and lines, and address stale or contaminated fuel under the OEM’s instructions. Check air intake restrictions and seals without introducing dirt into the clean side.
- Examine hydraulics. Look for abrasion, cracked covers, damaged fittings, and leaks. With pressure safely relieved, inspect suspect areas; never use a hand to find a high-pressure leak. Fluid injection injuries require immediate medical attention.
- Check tires, wheels, and running gear. Look for damage, loose hardware, and unsuitable inflation. Set pressures for the actual load and speed using the tire and equipment manufacturers’ guidance.
For planters and seed drills, inspect meters, drives, openers, bearings, depth controls, closing components, and monitor connections. Clean and calibrate the metering system for the intended seed and settings. A stationary check is useful, but confirm placement and spacing in the field when conditions permit; ground speed and soil behavior can change the result.
Summer: Control Heat, Dust, and Component Wear
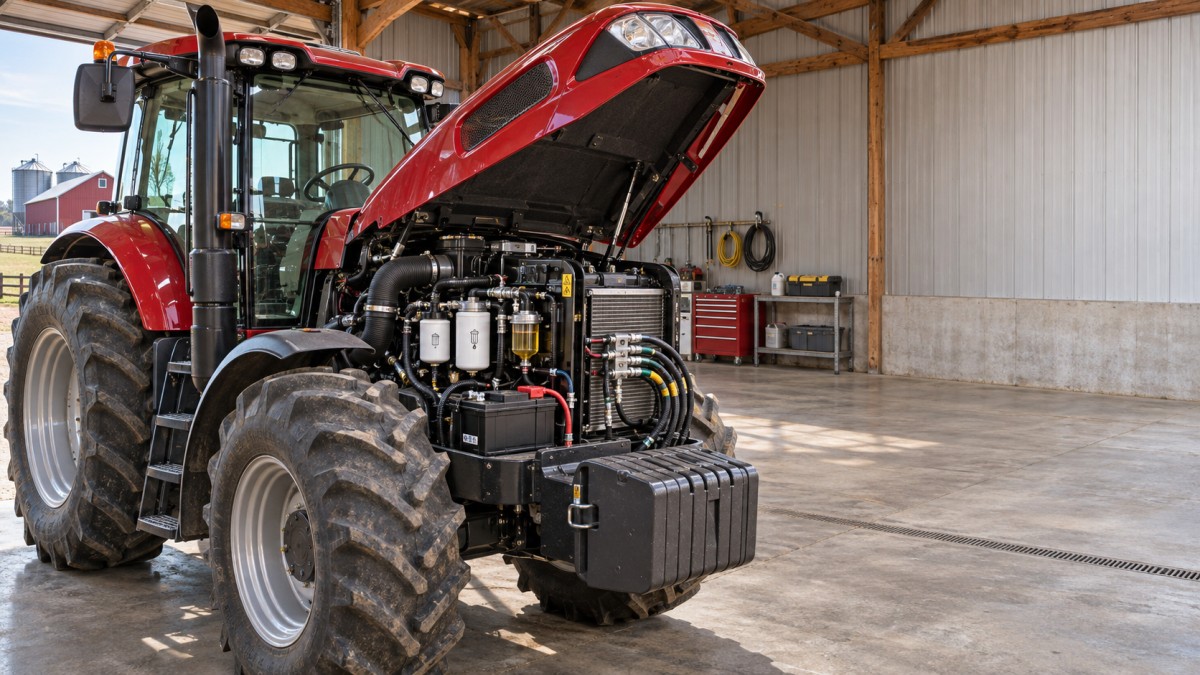
During spraying, haymaking, irrigation, and other summer work, restricted cooling and contaminated air filters can turn a minor maintenance issue into lost operating time. Inspect more frequently when crop residue or dust accumulates rapidly, and coordinate cleaning with the operator’s daily routine.
- Keep cooling packages clear. Stop the engine and allow hot components to cool before cleaning accessible screens and coolers. Follow the OEM’s cleaning method and direction to avoid bending fins or pushing debris deeper into the stack.
- Inspect belts, fans, and hoses. Look for fraying, glazing, cracking, rubbing, and coolant seepage. Adjust belt tension only as specified; excessive tension can damage bearings.
- Monitor bearings and drives. Investigate unusual noise, vibration, heat, or lubricant leakage. Compare similar components under comparable conditions, but do not treat a touch check as a substitute for diagnosis.
- Protect electrical connections. Check harness routing, abrasion points, connectors, and grounds, especially around articulating joints and areas exposed to wash water or chemicals.
- Service application equipment for accuracy. Inspect pumps, hoses, screens, nozzles, and flow controls. Check output and distribution using the equipment manufacturer’s procedure and the applicable product label.
For sprayers, identify the last material used before opening any part of the system. Follow the product label, equipment instructions, and applicable local requirements for protective equipment, rinsate, and disposal. Do not assume that a flushed tank means every line, filter, and fitting is free of residue.
Fall: Prevent Harvest Failures and Capture Repair Evidence
Harvest machines combine high throughput with abrasive material and significant fire exposure. Before the season, inspect feeder and header components, chains, belts, bearings, clean-grain systems, and residue-handling equipment. Check guards and safety devices, and verify that fire extinguishers are present and serviced as required.
During harvest, establish a cleaning schedule based on crop, weather, and residue buildup. Remove debris from accessible hot surfaces, engine compartments, and other OEM-identified areas after shutdown and cooling. A recurring hot bearing or belt alignment issue needs diagnosis; repeated cleaning alone will not correct it.
Turn field symptoms into actionable work orders
Ask operators to record when a problem occurs: crop and moisture conditions, machine load, engine speed, fault message, and whether the issue changes after warming up. For example, intermittent header operation may involve a mechanical obstruction, electrical connection, hydraulic supply, or control input. Replacing a component before isolating the fault can waste the remaining harvest window.
After the final field, inspect wear parts before washing removes useful evidence. Photograph abnormal wear, note measurements against the OEM’s limits where available, and list parts that need replacement. Separate repairs required before storage from those that can be scheduled during the off-season.
Winter: Protect Stored Equipment and Plan Repairs
Winter storage is an active maintenance stage. Moisture, temperature changes, rodents, and neglected residues can damage equipment while it is idle. Storage needs vary: equipment exposed to coastal humidity, prairie cold, or frequent freeze-thaw cycles may need different controls.
- Clean and dry the machine. Remove crop material, soil, fertilizer, and chemical residues using procedures suited to the equipment. Avoid directing high-pressure water at bearings, seals, electrical connectors, or sensitive electronics. Dry the machine before closing it into storage.
- Prepare fluids and fuel. Follow OEM storage instructions for fuel treatment, tank level, fluid changes, and coolant protection. Check coolant freeze protection with a suitable tester and correct the mixture according to specifications.
- Protect the electrical system. Inspect and charge batteries, then store or maintain them as the manufacturer recommends. Consider the machine’s electronic memory and disconnect procedure before removing power.
- Reduce corrosion and pest damage. Lubricate specified points, protect exposed metal as directed, and check openings and wiring for rodent activity. Record any covers or barriers so they are removed before operation.
- Support the machine correctly. Park on stable ground, lower attachments, relieve stored energy where instructed, and use approved supports if work requires raised components. Follow tire storage and inflation guidance.
- Close the loop. Attach a service record identifying completed work, outstanding defects, removed parts, and the checks required before the machine returns to service.
Indoor storage reduces weather exposure, but a building that traps moisture or contains corrosive fertilizer residues can still cause damage. Inspect stored equipment periodically and correct leaks, condensation, or pest activity promptly.
Make North America Maintenance Tips Work Across Different Conditions
Regional adaptation matters more than assigning a fixed month to every task. In colder areas, allow for fuel and coolant requirements, battery performance, and access to equipment after snow. In humid areas, prioritize corrosion, moisture in fuel systems, and electrical connections. In dry, dusty areas, focus on intake sealing, cooling-pack cleaning, and abrasive wear.
Cross-border or multi-site fleets should also confirm which requirements apply at each location. Workplace safety rules, pesticide handling, refrigerant work, waste disposal, and transportation requirements can differ by jurisdiction. Use current local requirements and qualified personnel where the work calls for them; a general maintenance checklist cannot establish compliance.
Measure Service Decisions Against Downtime and Total Cost
The cheapest repair is not always the lowest-cost decision. Estimate the cost of labor, parts, travel, repeat visits, and lost machine availability together. Compare a planned off-season repair with the likely operational impact of a failure, while acknowledging that failure timing cannot be predicted precisely.
Track repeat repairs and parts delays alongside downtime. A repeat visit may point to a missed root cause, an incomplete test, an incorrect part, or operating conditions that were not communicated. Record enough detail to distinguish those causes before changing the maintenance schedule.
Set the Next Service Window Before the Machine Leaves
Finish each visit with a short handover: what was inspected, what was repaired, what remains open, and when the next check is due. Give the operator specific symptoms to report, such as a recurring fault code, fluid loss, unusual vibration, or a change in application rate.
Then put the next appointment or inspection trigger on the calendar, tied to operating hours, acreage, or the next seasonal task. For after-sales teams, that simple commitment turns seasonal maintenance from a last-minute parts chase into a service plan the customer can use.
Related Intelligence
- Heavy Agri MachinerySeasonal Maintenance Tips for Farm Equipment in North AmericaNorth America maintenance tips for farm equipment: plan seasonal inspections, prevent downtime, and keep machinery field-ready from planting through harvest.
- Heavy Agri MachineryAEM: US Four-Wheel-Drive Tractor Sales Rose 7.7% in OctoberUS four-wheel-drive tractor sales rose 7.7% year over year in October 2026, AEM reports. Discover what the increase means for the equipment market.
- Heavy Agri MachineryChoosing a Cost-Saving Tractor: Fuel, Maintenance and Total Ownership CostsCompare cost saving tractors by fuel use, maintenance, downtime and resale value. Discover how to choose the right model and reduce total ownership costs.
The Morning Broadsheet
Daily chemical briefings, market shifts, and peer-reviewed summaries delivered to your terminal.